And I’m not only talking about food! The same principle applies to natural dyeing.
To me, being an ‘eco’ dyer means more than just foraging from my natural local environment. Among other things, it also means using my resources responsibly and keeping my impact on the planet as low as possible.
Western civilisation has been living as if there is no tomorrow. Unfortunately tomorrow is here and the supposedly endless resources we used so thoughtlessly are running out. In addition, this outlook has had a huge impact on both the environment and on humanity itself.
As one person I can make a difference, however small it is. I harvest leaves from our property (photos 2 and 3, above) in a way that encourages new growth, and I only take a small amount from each tree. If a tree is stressed by factors such as drought, insects or mould I let it rest for a few months.
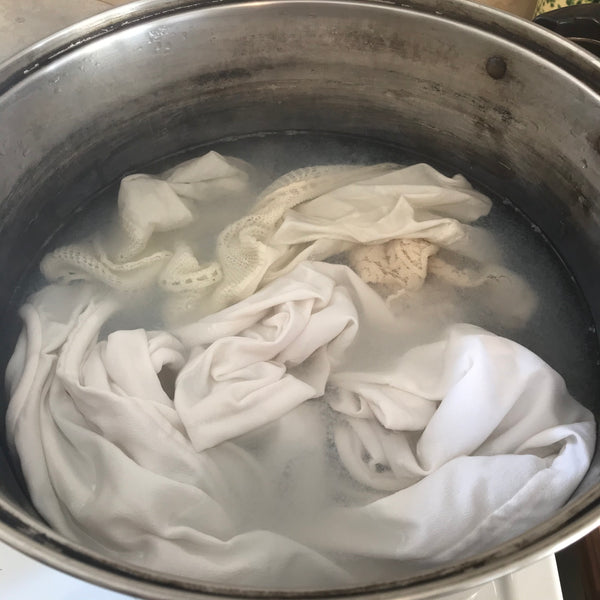
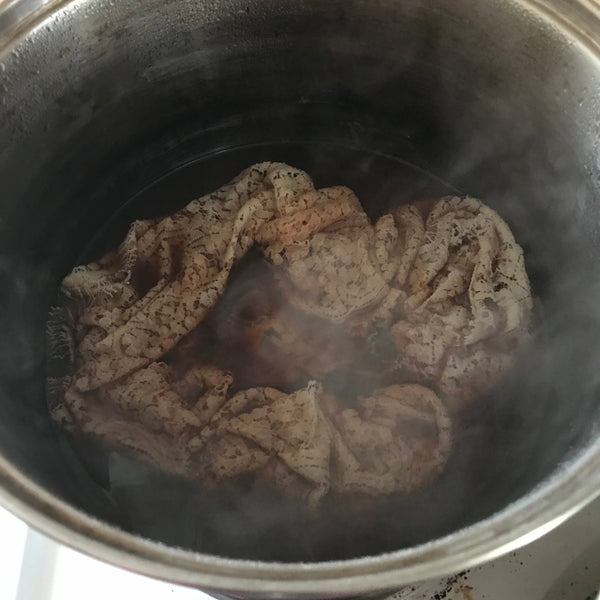
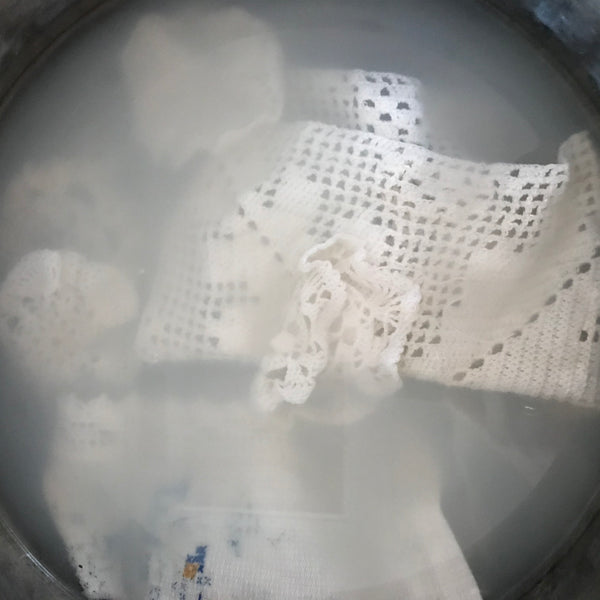
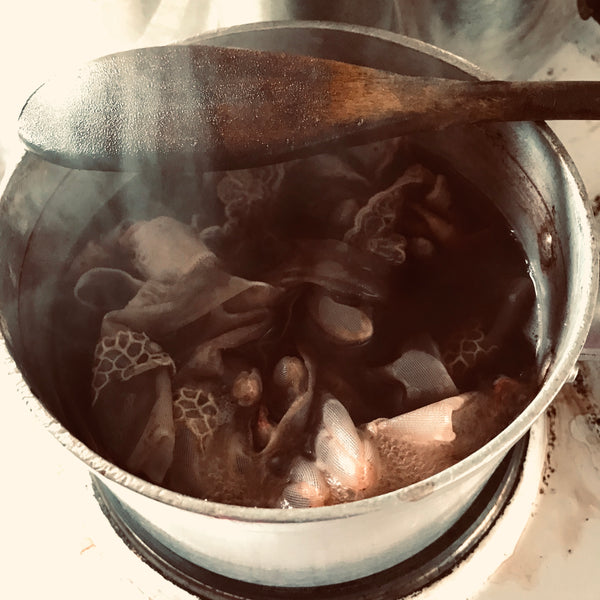
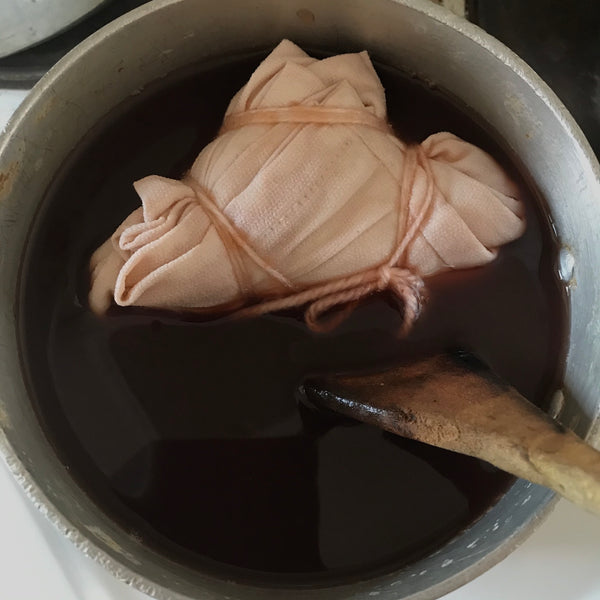
I also do one-pot wonders, which is the main subject of this blog post. My method is to place multiple bundles in the same pan or container so that only one hot plate or electrical appliance is used instead of several. Three bundles cooked or steamed together equals a reduction of energy usage by two thirds. That is significant over time!
Which brings me to my best and largest pot - a vintage laundry boiler (called a copper because traditionally that’s what they were made from. Mine is a 1940’s electric model and is mostly aluminium, but it has a copper base). I bought it in a garage sale for $80 a few years ago and it is probably one of my most treasured possessions.
I often do 5 or 6 bundles at a time but just last week - on a play day with a friend - it held 10 bundles. And it was still only just over half full! So potentially we used 1/10 of the electricity we might have used if each bundle had been cooked separately.
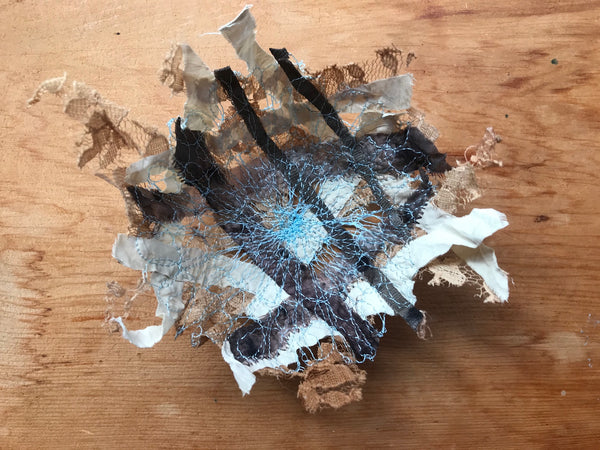
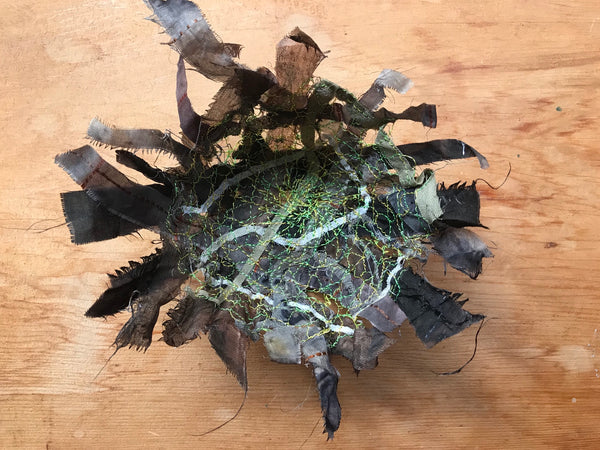
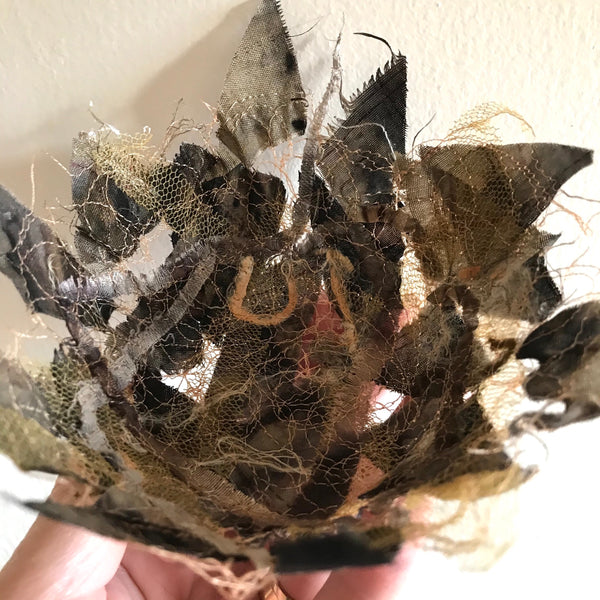
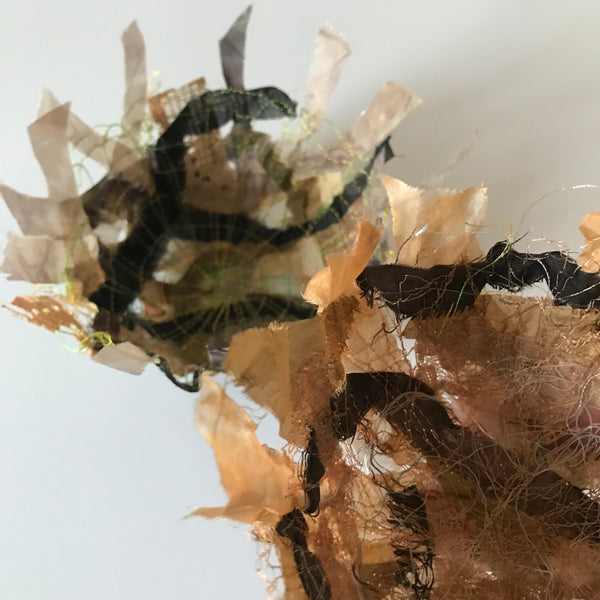
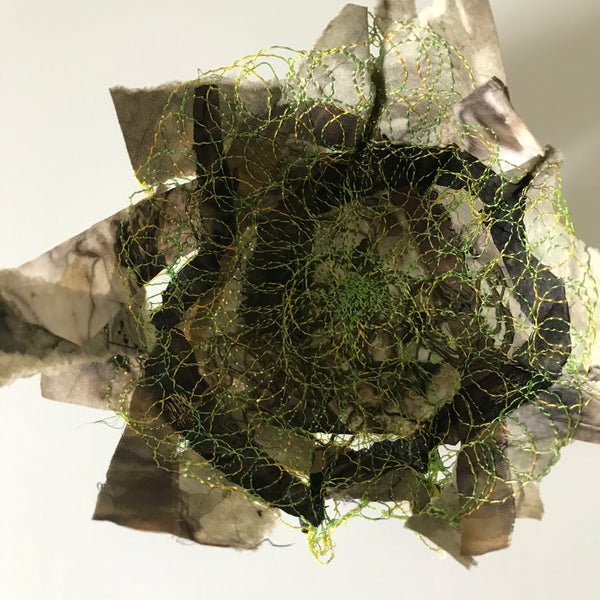
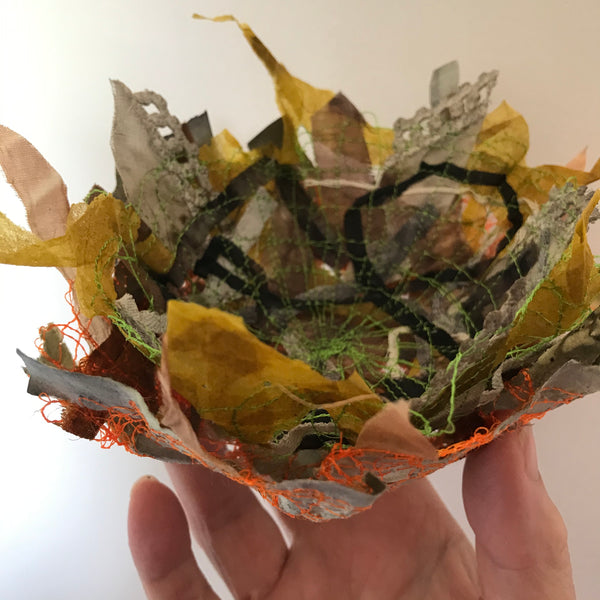
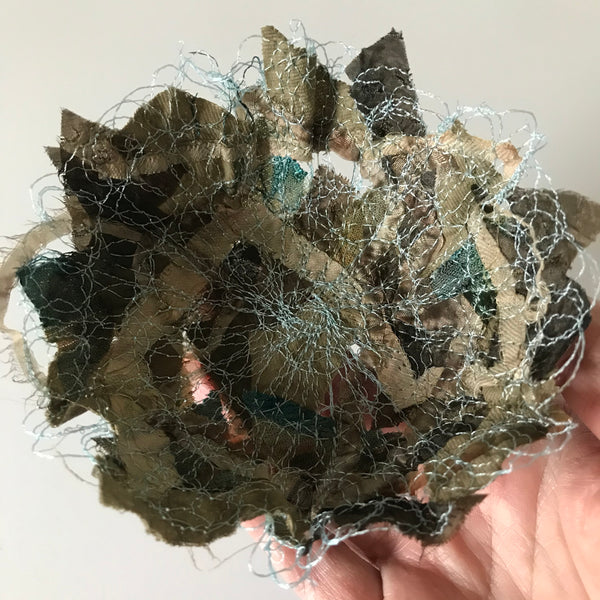
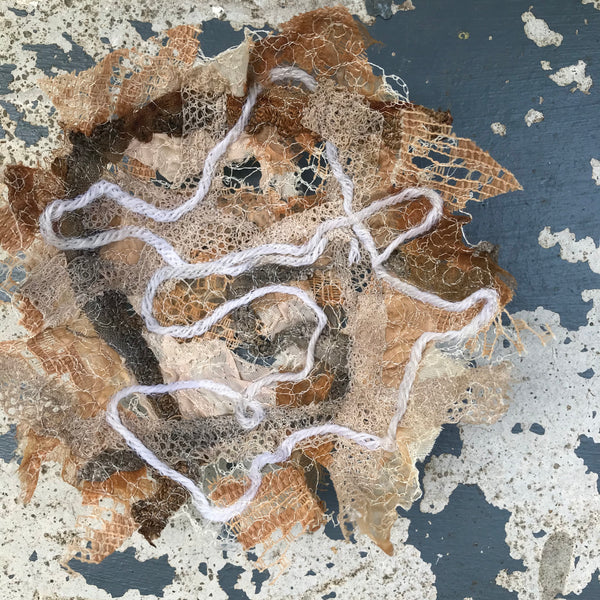
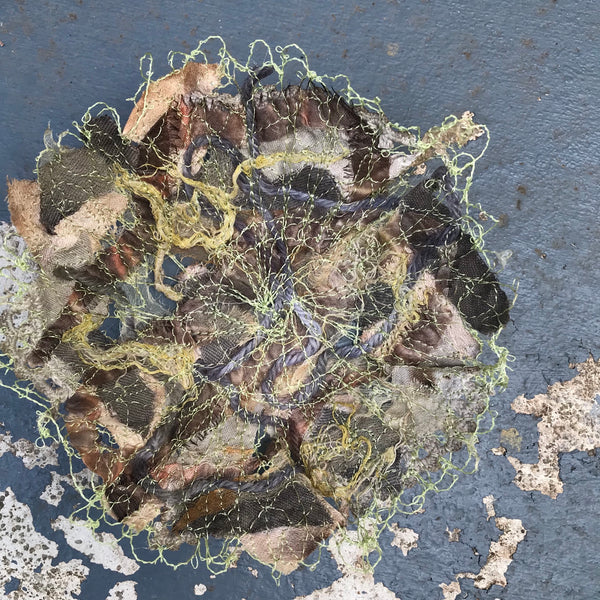
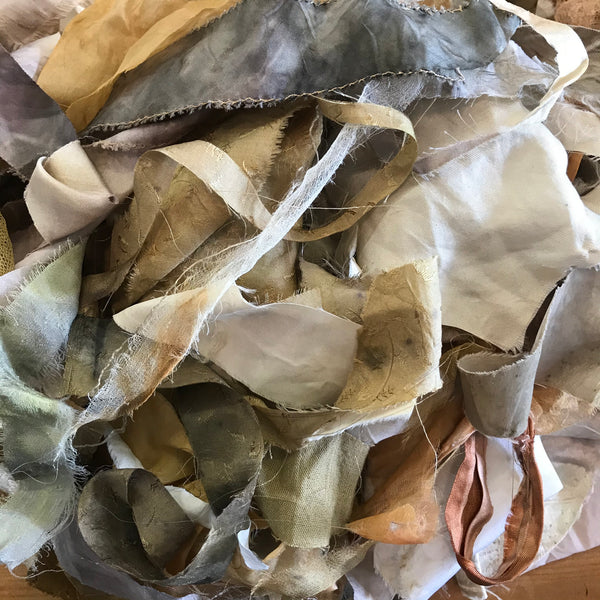
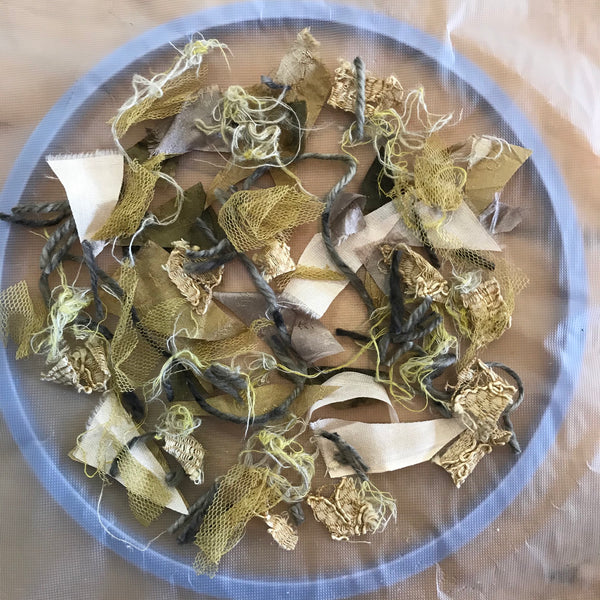
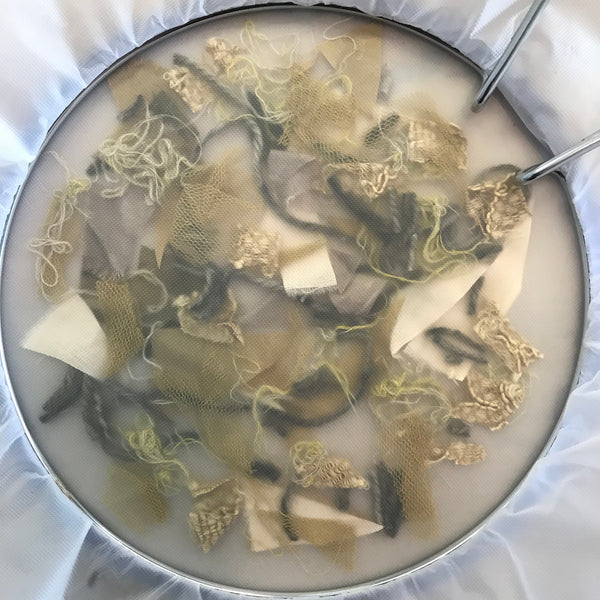
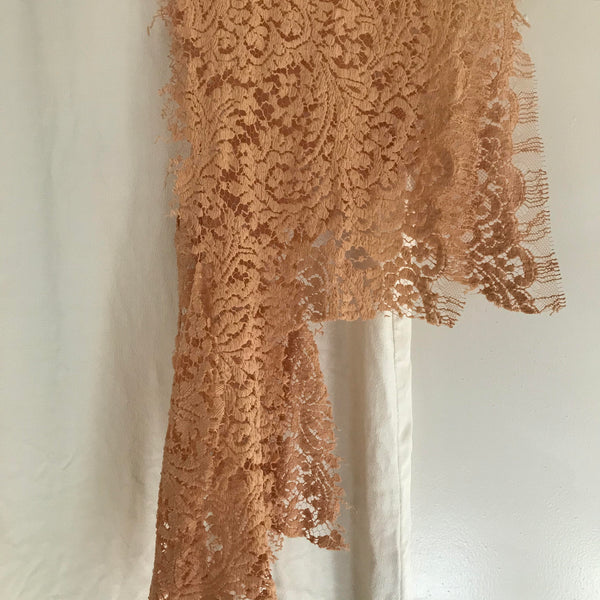
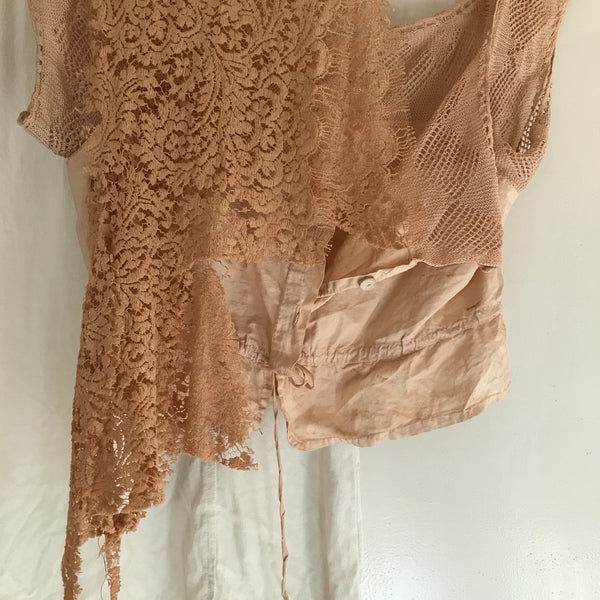
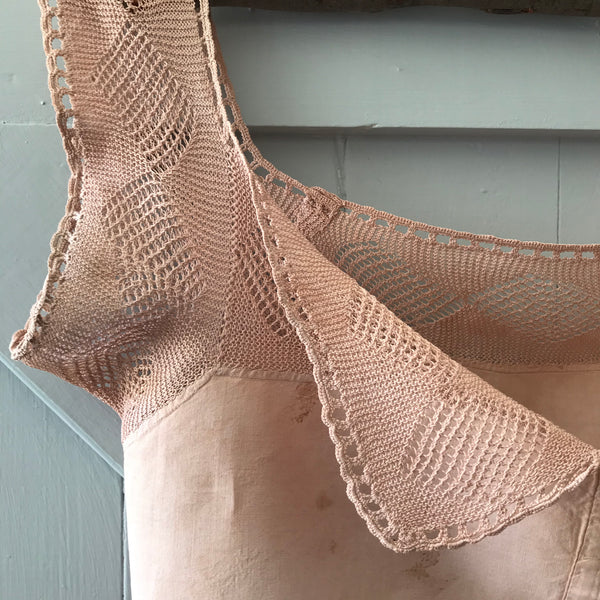
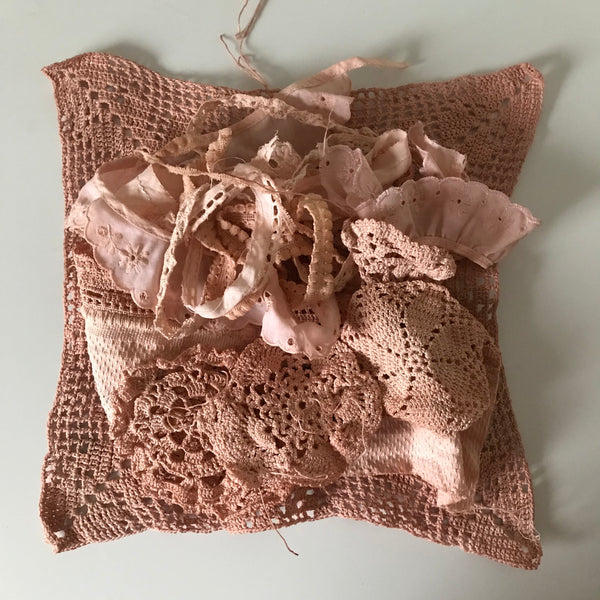
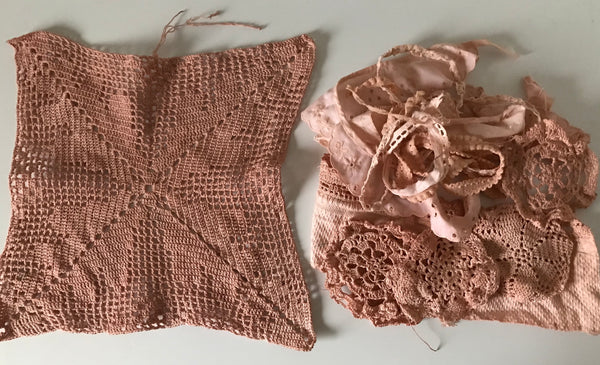
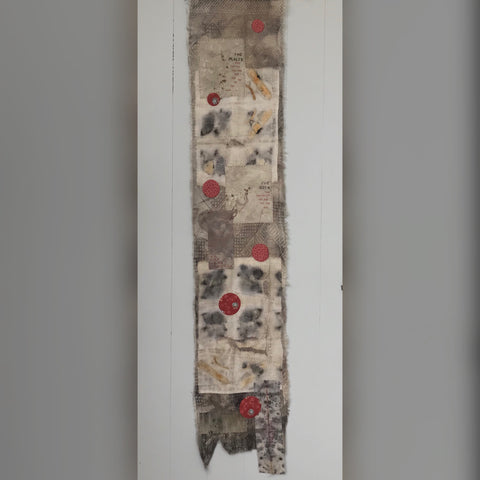
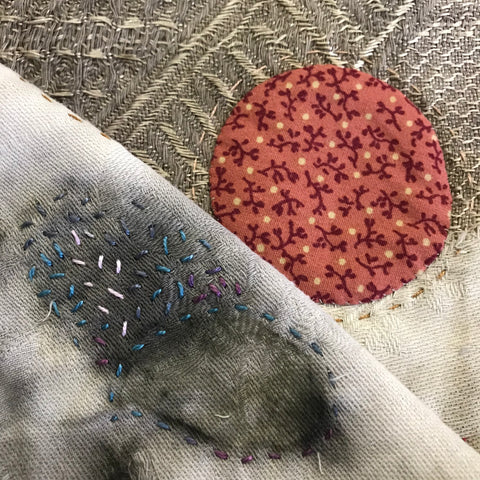
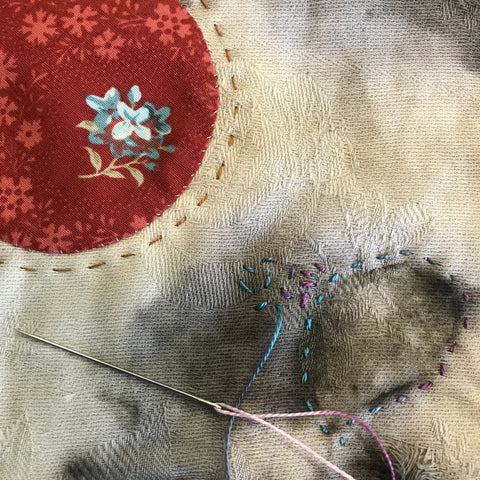
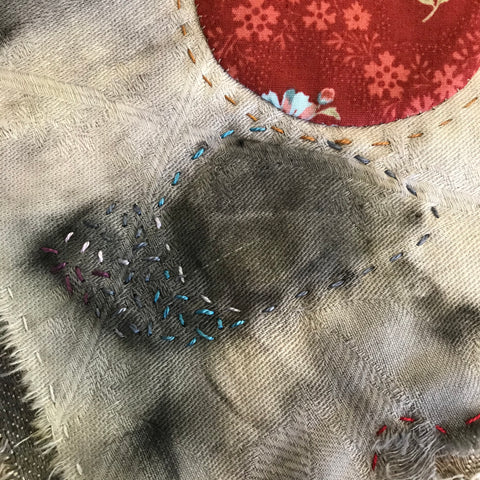
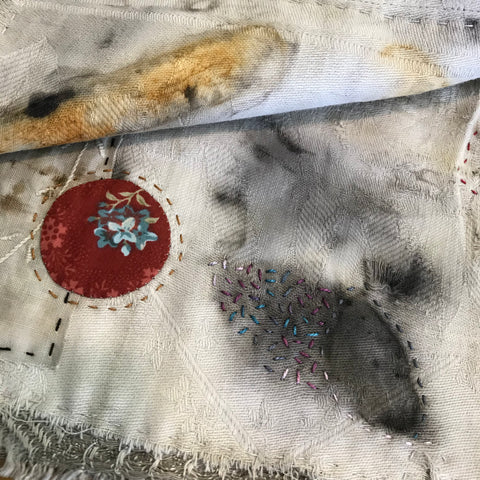
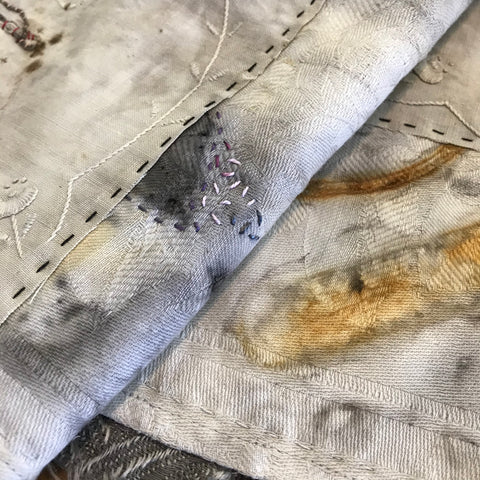
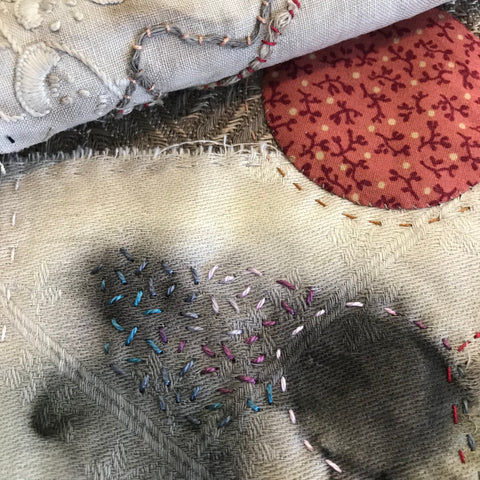
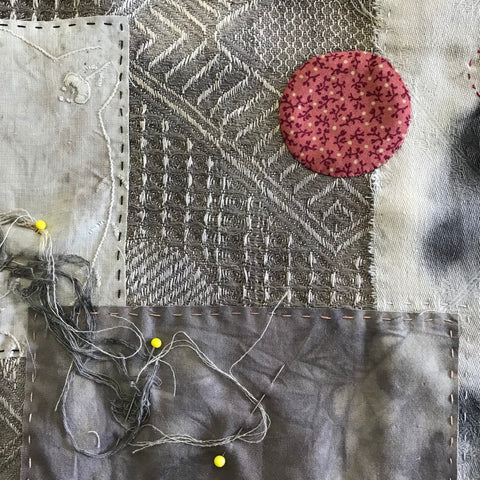
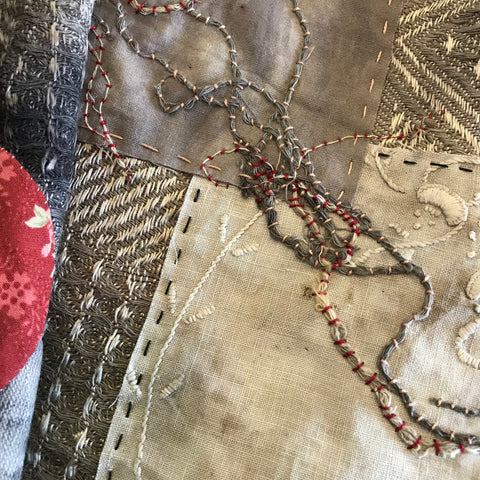
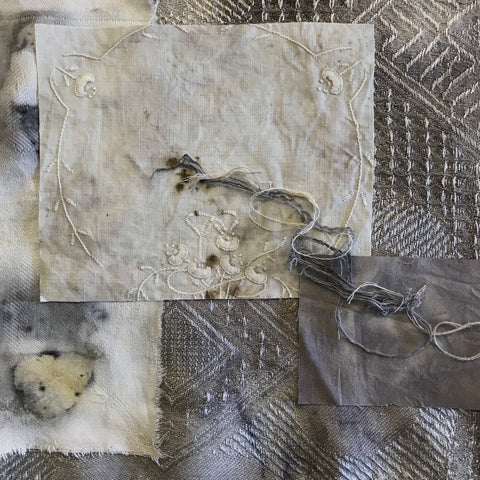
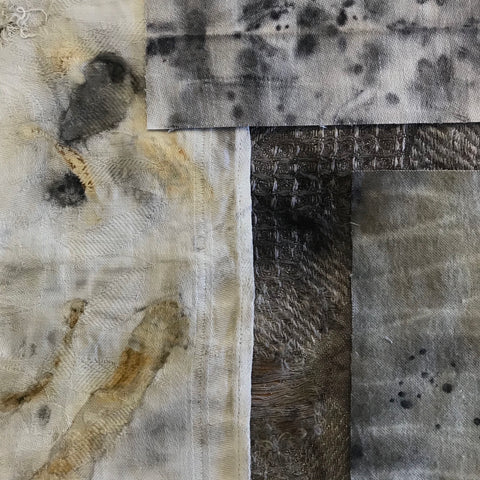
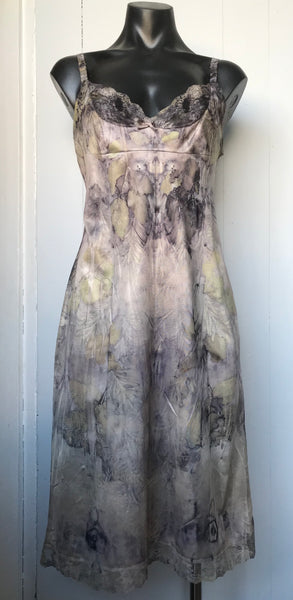
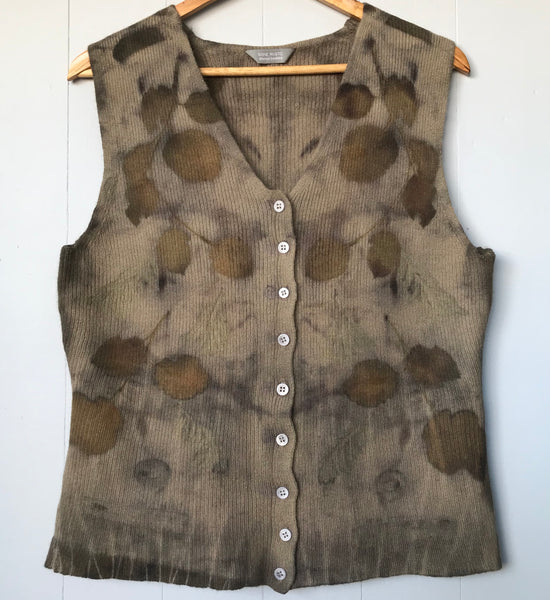
They great thing is that they didn’t turn out the same! Here are some photos of my results, all from our play day one-pot wonder, and all different.
Vintage silk
Wool woven in Tasmania (done face to face with the silk and rolled up as one bundle)
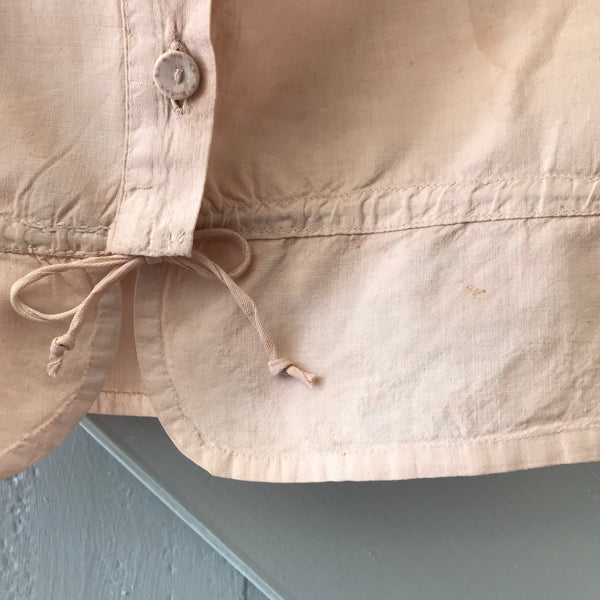
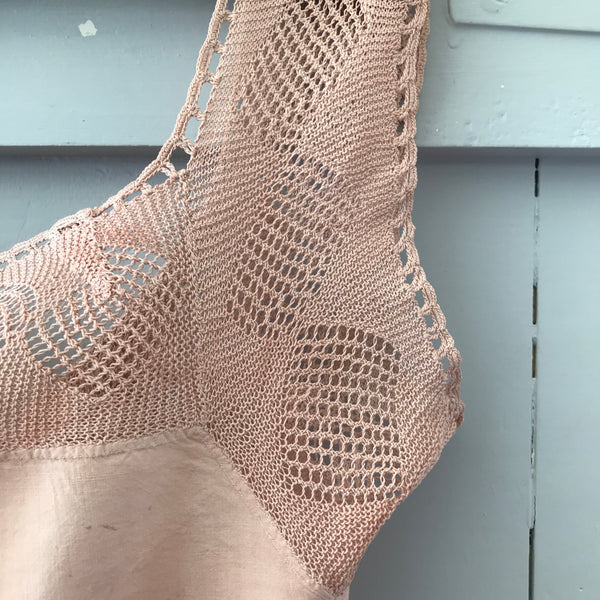
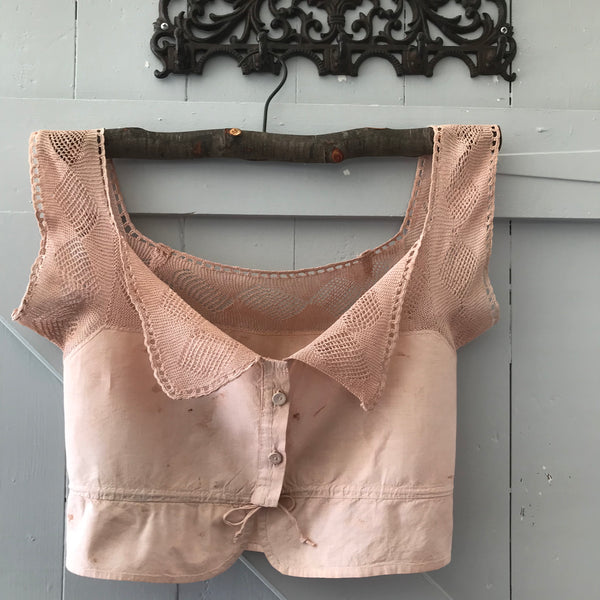
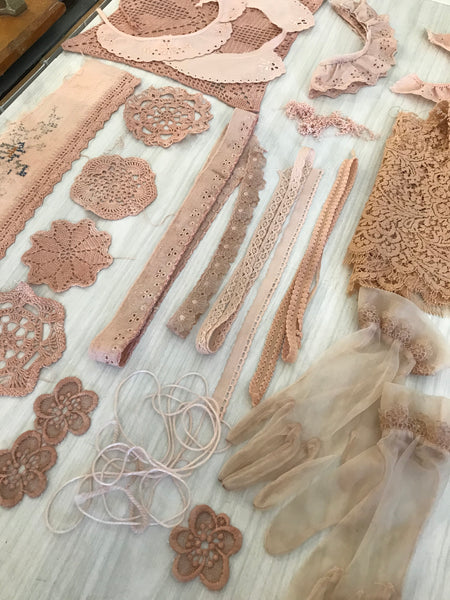
Vintage slip (nylon and lace)
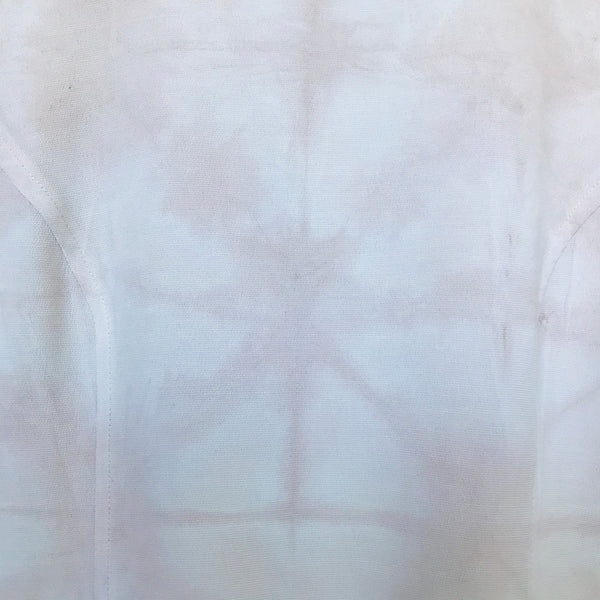
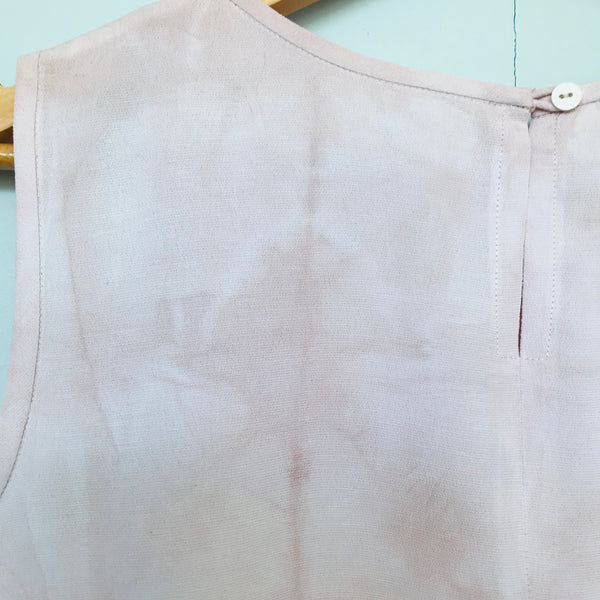
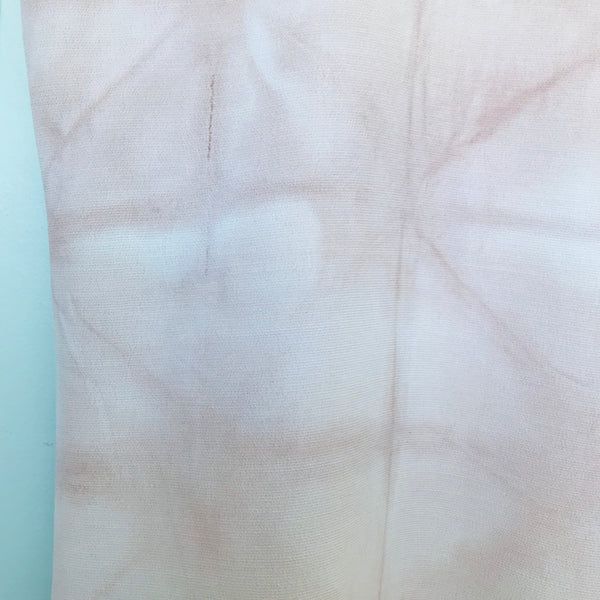
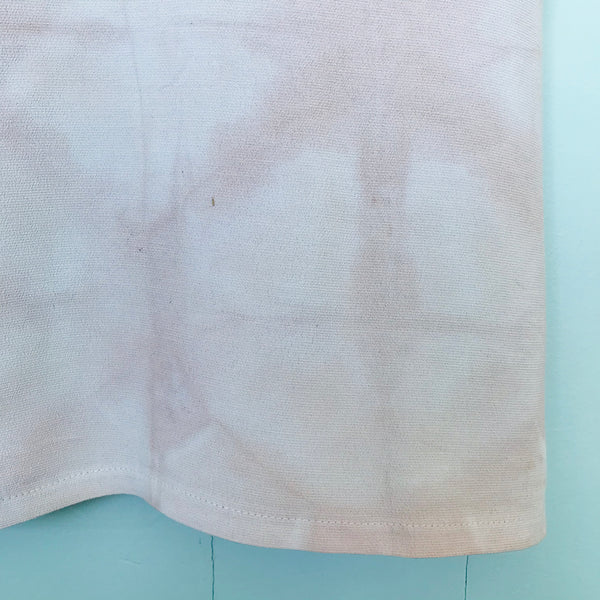
Upcycled wool vest
Vintage wool wrap
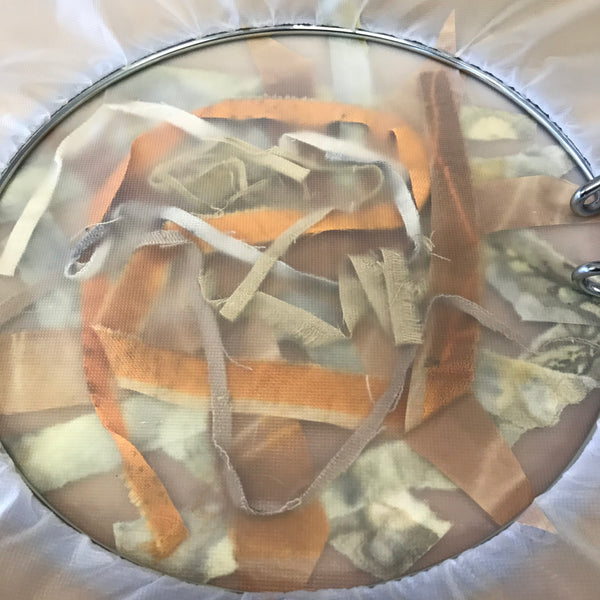
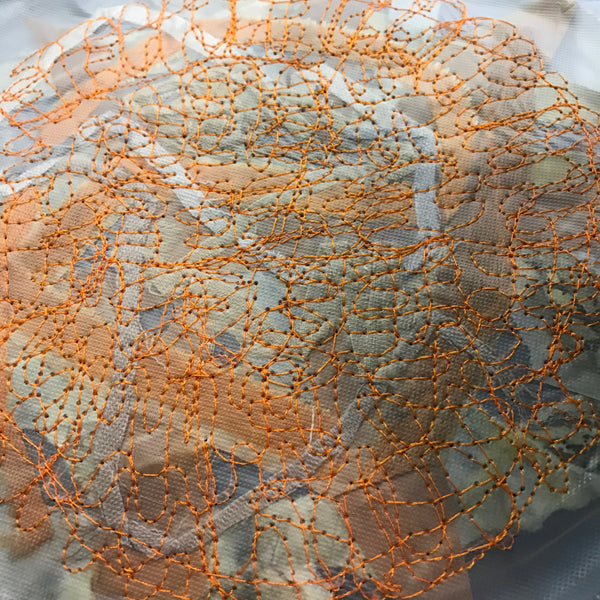
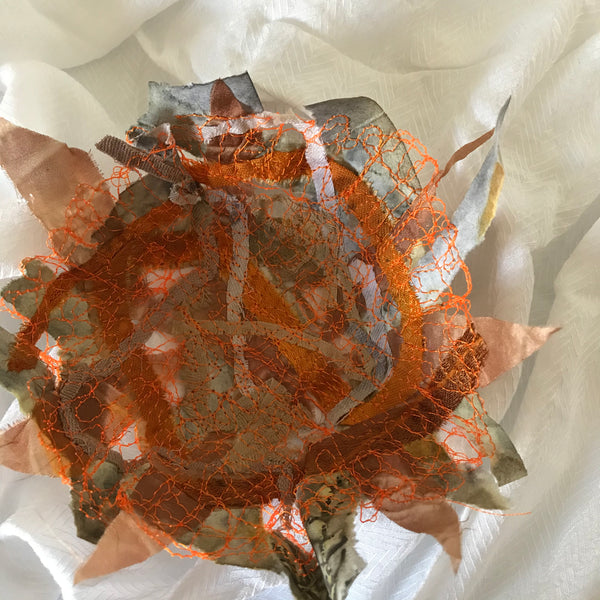
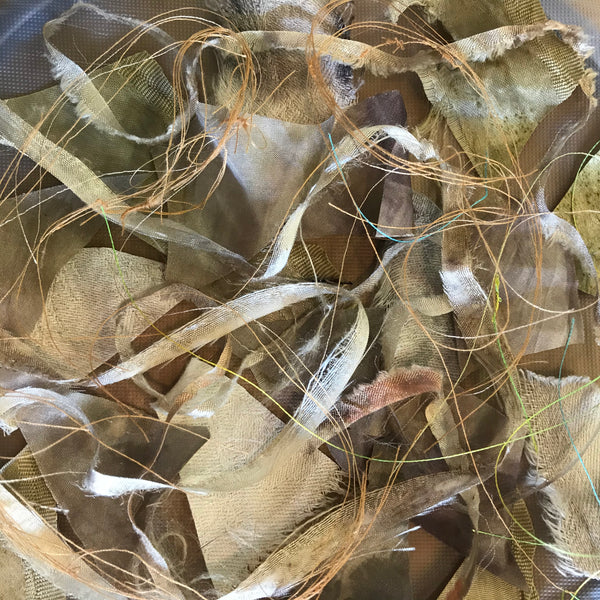
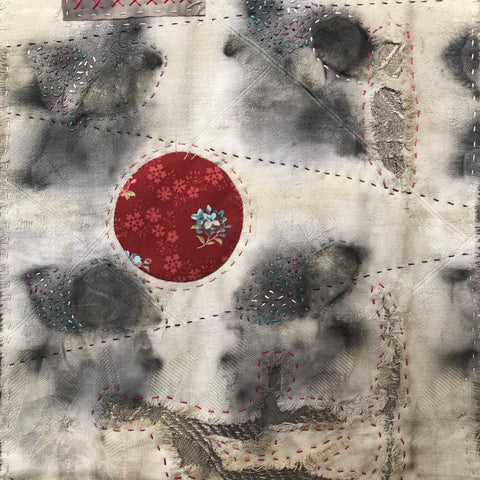
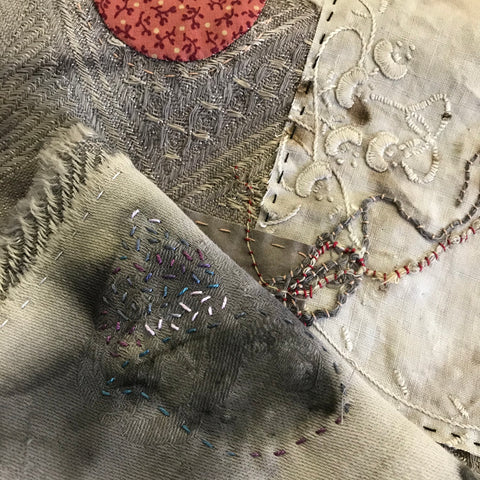
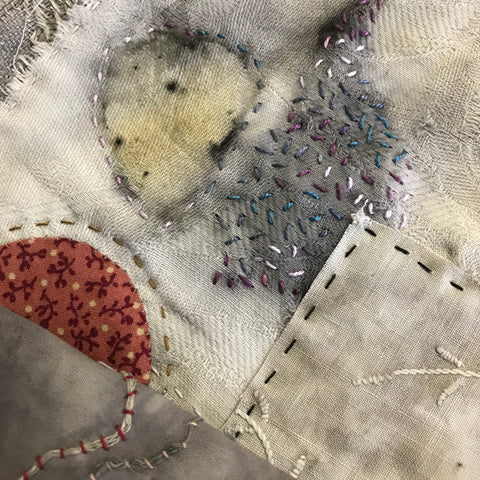
I used various combinations of the same leaves and rusty objects for everything and simmered them together for about 2 1/2 hours. The range of colours and patterns amazed me!
In the light of all this, please give one-pot wonders a try. I’m sure you’ll be pleasantly surprised at the results, and you will be making a difference, one step at a time.
Note - water consumption is another issue that needs some thought. I often reuse water or dye until it is very dark. If I reuse it 3 times I’ve reduced the amount of water by two thirds. By not using chemicals I can also pour it around plants in the garden or on the compost without any problems. Win-win!
]]>As a result, I probably had my most productive year ever! One of the pieces I completed - 'no tears' - is the focus of this blog post, and it expresses much of what I've had simmering in my heart and mind for all those months.
I decided to enter it in an art competition, so the moment finally came to make an attempt to verbalise things.
Artist Statement:
What started as an experiment in colour and composition became something very meaningful for me when I was diagnosed with a rare and aggressive cancer in July 2020. Having determined to be as positive as I could during my operation and subsequent radiation treatment, I did not cry (although I came close a couple of times) when my entire reproductive system was removed. I said goodbye to it and thanked God for the source which birthed my children. I now can feel only gratitude that I have been granted a freprieve. The buried cloth I incorporated for the background became even more significant after facing down what could have been a death sentence. I found courage I did not know I had, and stitch by stitch, I recovered. With an excellent prognosis, I am again free to pursue my art and my passion into the future!
Artist Bio:
As a designer, artist and passionate upcycler, my underlying philosophy is to create products and source materials as ethically as I can. I find and reinvent vintage and preloved clothing, fabrics and other materials with natural dyes and deconstruction techniques, allowing them to inspire my work. Materials for eco dyeing are mostly foraged from our own property, where I can manage the trees and plants respectfully. My business is based in northeastern Tasmania, Australia; this is where I display and sell my work, host exhibitions, and run workshops.
I am also a qualified teacher, with a Bachelor of Education, Art major (distinction) and a Diploma of Art Craft Design/Textiles. I opened my gallery/studio in St Marys in 2003, and feel passionate about recycling and zero waste. This informs all my designs and inspiration.
Along with a 1-page CV, I managed to get it done and sent a few hours before the deadline. Now I have to wait until April to find out if my entry has been accepted! [Postscript: ‘no tears’ was not accepted for this particular exhibition but I was successful in my application for the ‘Minds do Matter’ exhibition later in the year. To find out more, click here.]
]]>Blush does show up in my eco dyeing though, and my latest avocado experiments proved that.
I was hoping for pink as well but the pan with the avocado seeds boiled too fast when I wasn’t looking!
Initially I had mixed feelings about the results but after washing the items I realised that actually the colour was really pretty. The ‘blush’ description came from one of my social media followers and I decided to run with that.
I had 2 pots going - avocado skins were simmered ln the second one, which usually give a more terracotta colour.
However, I think I could describe all the results as a blush colour, which isn’t a bad thing. In fact, I’m growing to love them! I hope you do too.
Viscose/nylon cardigan, upcycled
Linen jacket, upcycled
Vintage table linen (plus the cotton string I used to tie the bundles for dyeing)
All of the items were dampened and then folded, twisted and tied using a Japanese shibori-style technique.
To make the dye, I used the same method as described in an earlier blog post. However, instead of premordanting the clothing etc, I added alum* to the dye liquid once it was strained out. I also didn’t peel the avocado seeds which might have affected the outcome.
Two other items (a top and a scarf) will need to be redone, but otherwise I’m pleased with how things turned out!
[*3 tspns of alum to the smaller pan and 4 to the larger one]
]]>And yet that is what it has become. A simple idea in response to a theme of ‘layers’ now chronicles my daily journey of trying to make sense of a worldwide crisis.
Fragility and strength are the 2 words that come to mind while I work. As I trap layers of eco dyed scrap materials between a stabiliser that ultimately dissolves, never to be seen again, I unconsciously make visual the cycle of loss, fragmentation and the threads that somehow hold us together.
In the process, I retrieve the disparate materials I discarded after completing other artworks, and I put them together again.
The vessels are becoming more random and less planned, reflecting the impossibility of my being able to control daily events beyond daily routine.
Fragments, scribbled stitch, odd shapes, dark lines, the seepage of light through the gaps - I am only now beginning to realise what it all means.
They are lost maps, fragile crucibles, the intangible becoming tangible. And I have no idea where this journey will lead me.
]]>
Materials:
scraps of fabric, yarn, threads and/or lace
soluble stabiliser, eg Solvy
sewing machine
machine sewing thread in desired colour
hoop designed for machine sewing
scissors
small bowl for mould
Method:
Place the outer section of the hoop on a flat surface with one square of stabiliser centred on top which has been cut larger than the hoop.
Scatter your scraps onto the stabiliser, snipping them into smaller pieces as you go. Leave some gaps to achieve a lacy effect.
Then centre the second piece of stabiliser over everything, trimmed to the same size as the first piece. Secure the layers with the inner part of the hoop.
Using your free motion or darning foot, and with the feed dogs down, machine stitch all over the surface, as close as you can get to the inner edge of the hoop. I did loops, swirls, stippling and spirals. The stitching should connect and cross over itself otherwise the scraps won’t hold together later. It can be very random and unplanned, which makes it fun!
Next, remove the finished piece from the hoop and rinse it in cold water. It will feel soapy; you need this viscosity to help your vessel keep its shape, so only rinse it just enough for the stabiliser to disappear. Squeeze out the excess liquid and drape it (wrong side out) on the outside of a small bowl.
Allow it to dry completely, then gently peel it off the bowl.
Your vessel is now complete!
Tip:
If you don’t have a suitable hoop, pin the layers together before stitching.
]]>The whole process ended up being rather laborious to begin with, but I think it was well worth it. The frozen seeds were too hard to cut or peel, so I gave them a soak in the sink first, to soften them. After about half an hour, I was able to cut them easily and take the peels off.
I composted the peels, but I later found out that they are a good source of tannin, so I'll save them next time!
A book in my collection by Abigail Booth gives very clear instructions, so I more or less followed her method. (She doesn’t mention peeling or cutting the seeds though.)
After covering them with water I simmered the prepared seeds for an hour and then let them cool in the pot.
Meanwhile, I pre-mordanted 2 tops and a lace remnant (dampened first) in an alum acetate solution (about 4 tspns in a large pan, mixed beforehand with a little bit of boiling water).
Once the avocado seed dye had cooled, I strained off the liquid and composted the seeds. I was left with a beautiful pink dye!
After the mordant solution had simmered for an hour, I left it to cool as I did with the avocado mixture. Then I lifted the items out of the alum solution and squeezed out the excess liquid back into the pan. Abigail's instructions were to then rinse them in cool water, but I skipped this step as I wanted the mordant to be as effective as possible.
Now for the exciting part - dyeing the items I had prepared! This is a lovely remnant of vintage lace; I think it's cotton but I'm not sure.
I just loved the results! Here is the lace remnant after air drying.
The variations in colour depending on the fabrics was very interesting. Notice the different shades between the lace and a vintage camisole in this photo.
The cami came up beautifully after washing and ironing. I did find some dye blotches on it which didn’t wash out, so maybe I can embellish them with some slow stitching.
I kept re-using the mordant solution, adding more alum occasionally.
I also transferred the avocado dye liquid to a smaller pan each time as the levels dropped due to evaporation. I wanted to maintain colour strength, so I resisted the temptation to add more water.
Pieces of lace and crochet 'orphan' motifs also got the pink treatment.
Then I experimented with origami shibori on a sleeveless viscose top.
It ended up quite subtle compared to the other items, but I really like it. Hard to capture in photographs though ...
I kept repeating the mordanting/dyeing process, and accumulated quite a pile of pink!
Before ironing ...
... and after ironing.
There's not much avocado seed dye left now - only about 1 cup - what shall I do with it? Maybe dip some watercolour paper?
PS - I did manage to fit in a few more bits and pieces ...
]]>
I also thought it would be good to use up some of my less interesting pieces of eco dyed fabric, and the many scraps left over from other projects. After years of making textile art I know that even the most boring materials can be transformed with embroidery, layering and so on.
Just looking at them isn’t enough. I have to ‘play’, arranging and rearranging until I’m happy. With no preconceived ideas, the unexpected happens!
After I’d organised the layers to my satisfaction (no trimming) I pinned them down and started stitching. I added appliqué, quilting, couching, seed and cross stitching over the next several days, mostly at my gallery in between customers.
Since I wasn’t sure what to do next I hung it up and left it alone for 24 hours. And the ideas came!
I stitched some letters. I thought about journeys (a recurring theme in my work), the passing of time, the milestones in my life.
To express these thoughts visually I stitched tally marks in red. I left a thread hanging after I reached 100, to signify the future, the unknown, the unfinished.
Next, I quilted some diagonal lines to represent pathways. Masking tape keeps me straight - removable and reusable.
It was then I knew I had finished!
]]>I had thought I would do a lot more running stitch, but apart from quilting around the layered pieces, circles and leaf prints, I couldn’t see where else to do it that would work for this project.
So I tried some cross stitch in red perle cotton for contrast.
I liked the effect so I added some more ...
... and a bit more!
I also added some more seed stitches in the leaf print ‘shadows’.
It’s all starting to come together!
]]>
Stitching, especially hand stitching, seems to embed some of the personality and thought processes of the maker into the work. When I go to textile art or quilt exhibitions, I love to look closely at the sewn details almost more than the overall effect!
Since my mother first helped me make simple clothes for my dolls at age 4, I have loved sewing. I feel complete when I’m working on a project that involves cloth and stitch, no matter how long it takes to complete.
So when I decided to fill in the shadows of the leaf prints with seed stitch it didn’t worry me that it would take time!
I revel in the process as well as the textural effect.
]]>
This time, I randomly laid down some of the loose threads that I pulled from the torn edges of the fabric, and then tweaked them a bit. Pins helped to keep them in place (sort of).
It took me most of a day to stitch them down in between customers at the gallery, but I’m pleased with the effect!
I also found time to start quilting around the circles. These were appliquéd to the background layers the day before, using a traditional needle turn technique. (See previous blog post.)
I like the contrast between the red and grey!
The circle templates have been cut out from an old file folder; as you know I like to reuse and recycle as much as possible in my art and business practice!
Having said that, the red fabrics are new, only because I couldn’t find the right shade of red otherwise.
I love to include mending too, as a feature not just as a useful technique. This piece of fabric had just the right tears in it to fulfil that purpose!
I also make it a priority to incorporate vintage fabrics, the more worn the better as far as I’m concerned.
This project is no exception, and features an old cotton tablecloth, parts of a large embroidered doiley and a piece of damask curtain, which have all been naturally dyed with leaves and rusty bits and pieces.
I am often drawn to old and cast-off materials for my work - they inspire me!
]]>
I rummaged through my bin of eco dyed scraps and unused pieces of vintage fabrics and laid them on top of each other without overthinking the design.
I’m drawn towards boro-style stitching with some perle cotton threads from my stash ...
]]>
To see another example I made a while back, check out my youtube video!
And don't forget to book if you'd like to make one yourself, to store all those precious bits and pieces you've been collecting ...
]]>Above: looking through the open door from my seat at the kitchen table towards my old brass pot on the stove and the vintage electric copper outside.
The electric copper still held some iron-rich water from the last dyeing session, so I just threw in the plant materials left over from layering in the dye bundles and some more water.
Inside my brass pot, you can just see the native cherry through the lid!
To find out what mordants (fixatives) I used and to see more photos, please visit my Facebook page here.
]]>Call in soon and be inspired! Open 10-4, Monday-Saturday (Sundays by appointment).
On display until 4 pm on 10 February.
To see more photos (including artists’ names and titles of works) please go to my Facebook page here.
]]>Have you been wondering how to eco print on paper?
In this free mini-tutorial, I describe a very simple method which you can try for yourself. Check it out here!
]]>
I made this video to screen behind my entries in a wearable art event.
In it, I explain my zero waste policy and the method I use to eco print on wool with eucalyptus leaves.
Want to know more?
See the video on my YouTube channel here!
]]>